Showing posts with label reinforced concrete. Show all posts

Wednesday, July 27, 2011

Aqdeh #1


The big day finally arrived, and we completed our first roof / slab pour (or Aqdeh) without any glitches. The excitement was palpable at the site, and by the time the concrete arrived around 1pm we were all anxious to begin. Below are the photos from the days' activities, which culminated in a (well-deserved) traditional Mansaf meal with the crew:


(concrete pump truck arrives and begins the pour)
(crew member directing the B300 strength concrete along the main beams first)
(electric wire conduits for future electric lines are poured into the slab)
(the stairs are poured)
(crew vibrating the concrete into the beams and ribs, while foreman discusses next area with pump operator)
(another one for the "Not-OSHA" files: banging on the mixer from the inside with a hammer ... while it's spinning)
(almost done with this quadrant, with extra concrete being handed down to the worker on the stairs)
(foreman directing traffic)
(starting to smooth-out the concrete on completed areas)
(finishing out completed areas)
(more than half-way through)
pouring concrete onto the inverted beam)
(the crew posing after seeing me with a camera)
(finished product)
The pour took around 4 hours, although it should have been completed in 2.5 hours. The main delay was caused by delays in the concrete mixers arriving, and apparently concrete schedules are notorious for these sorts of slides.

We poured 79 cubic meters, the slab was 32 centimeters thick over an approximate area of 380 square meters. Now we need to spray the slab with water twice a day for three days, and leave the support jacks in place for 10-14 days (depending on the temperature and humidity) and we've got ourselves a roof slab.

Next up, starting work on the columns and load-bearing walls: forms, steel and concrete all over again in order to prepare for the more-extensive stone-work that will be part of this next (and all future) floor(s). We also have the insulation to complete under the future gardens and more fill to import after we build the retaining walls along the sides of the property.


Saturday, July 23, 2011

Getting Ready for 3Aqdeh

The final preparations for the 3Aqdeh are under way. We've completed our first phase of insulation and fill import around the basement floor, set up the Hollow Concrete Blocks (HCB) on top of the roof / floor forms, and distributed the steel reinforcement bars along the beams, tie beams and ribs to reinforce the slab. 

We've also completed coordination with the electrical contractor and the plumbing contractor to set up the necessary sleeves that will allow them to pull their wires / pipes through the slab after the 3Aqdeh pour.

Below you can see photos of the fill being imported and distributed. We placed the fill on both sides of the retaining wall in order to maintain the neutral loading it was designed for, and filled only about 1 meter behind the second basement wall in order to establish a ground elevation suitable for setting up the insulation layer. This layer is composed of a 2-cm thick styrofoam board that is protected by a wall of thin (10-cm) concrete blocks, which required the fill underneath to act as a foundation for the insulation wall:

(truck importing fill material)
(fill being imported by the truck on one side and distributed by the bulldozer on the other)
(fill delivered at the top of the future street to be pushed behind the wall) 
(bulldozer spreading the fill material)

Additionally, we ordered around 1,800 Hollow Concrete Blocks (HCB) that will make up the majority of the floor slab, and the crew distributed the blocks in accordance to the structural engineering plans. The blocks sit directly on top of the wood forms, and they are separated in order to place reinforcing steel beams and ribs between them to support the slab structure after the concrete is poured and the forms are removed. Progress pictures, as well as some detail work below: 

(HCB delivered)
(HCB distributions in progress)
(three-quarters of the roof area completed)
(final blocks in place, ready for steel)
(beam reinforcement between HCB's, as well as inverted beam forms shown)
(the inverted beam forms were tricky because they need to "float" to allow concrete underneath)
(sunken slab area doesn't have HCB, to allow for pipes to be set up under future bathrooms)
(beams and tie beams need to have all the steel tied together by hand, one bar at a time)

(final preparations for the concrete pour)

Finally, I wanted to post some photos showing the form and reinforced steel construction details for the staircase because it's always been difficult for me to picture how it's done. I now have a chance to see it as a work in progress and it's helped me understand what goes on. Please feel free to post a comment if you have any questions about the photos below and I'll be happy to elaborate on them:

(forms are built like a slide, then reinforcing steel in set in place.
Notice the faint outline of the stairs drawn in red marker on the wall to the left)
(after steel is complete, horizontal forms are added that allow concrete to flow underneath them)
(detail of the stair forms. All forms are fixed to the wall as well as to each other)
(steel from the top of the stoop reinforcement goes to the bottom of the stairs and vice-versa)
(reinforcement bars protruding to set up for the next level of stairs)
Next up, our first 3Aqdeh or roof/slab concrete pour that will complete the 3Adem (bones) phase of the second basement floor.


Monday, May 23, 2011

Second Foundation Pour

The second foundation pour took place a couple of days ago, and everything went smoothly. We should have one more pour that includes the stair case and elevator shaft foundation, before starting to form the columns and prepare for the fill material to be placed below the slab on grade.

Below are a few photos of the rudimentary methods used in preparing and erecting the timber forms, which I continue to find strikingly old fashioned and ingenious at the same time:

(short footing edge formed with dirt and rocks)
(braces for the forms anchored with boulders)
The main element of support the crew needs during this stage is ensuring that the column and wall centers are accurate compared to the axis given to us by the surveyors, that the spacing and proper thickness of steel reinforcement bars are used, and that the layout of the steel for the column necks is correct. 

(close up view of one of the footing forms, still missing steel)
(forms completed)
(calculating steel reinforcement beam spacing and locations)
We calculated that we would need around 45 cubic meters of B300 concrete, placed the order and called the geotechnical engineer to schedule the testing crew again. They showed up a few minutes before the mixers arrived and took a sample from each mixer batch to test. After the 5 footings were poured, we ended up using 42 cubic meters of concrete.

(steel in place, concrete pump arrives with the fog from the valley)

(crews directing the pour, vibrating the concrete already placed, and smoothing the surface)
The next few days will bring the forming and steel setup for the stairwell and elevator shaft, the final foundation footing pour, the forming of the column necks, and preparation for construction of the 5.5 meter tall concrete retaining wall between the building and the street. 

Thursday, May 5, 2011

Foundations & Concrete

Work has been progressing relatively quickly at the site for the past week. Once the marks for the foundation axis were established, the crew went to work setting up forms for the foundations that will support the building columns. I find myself constantly impressed at how old-school the methods used to accomplish this work are: all the measurements (after the surveyors gave us the initial markings) are taken with a tape measure and the crew uses string, a level and spray paint to mark form locations, all the elevation levels are taken with a clear hose filled with water, then measured from the benchmark set by the surveyors on the 'bracelet' fence surrounding the site, wood boards are fastened together using metal wire and supported by large rocks and dirt on the outside edges.

Keep in mind there have been only 4 workers on the site this whole time, we only added a fifth two days ago to prepare for the pouring of the first layer of concrete (the Blinding, called 'nadaaf' in Arabic, or clean layer) which will allow us to set up our steel reinforcements on a uniform, horizontal surface.

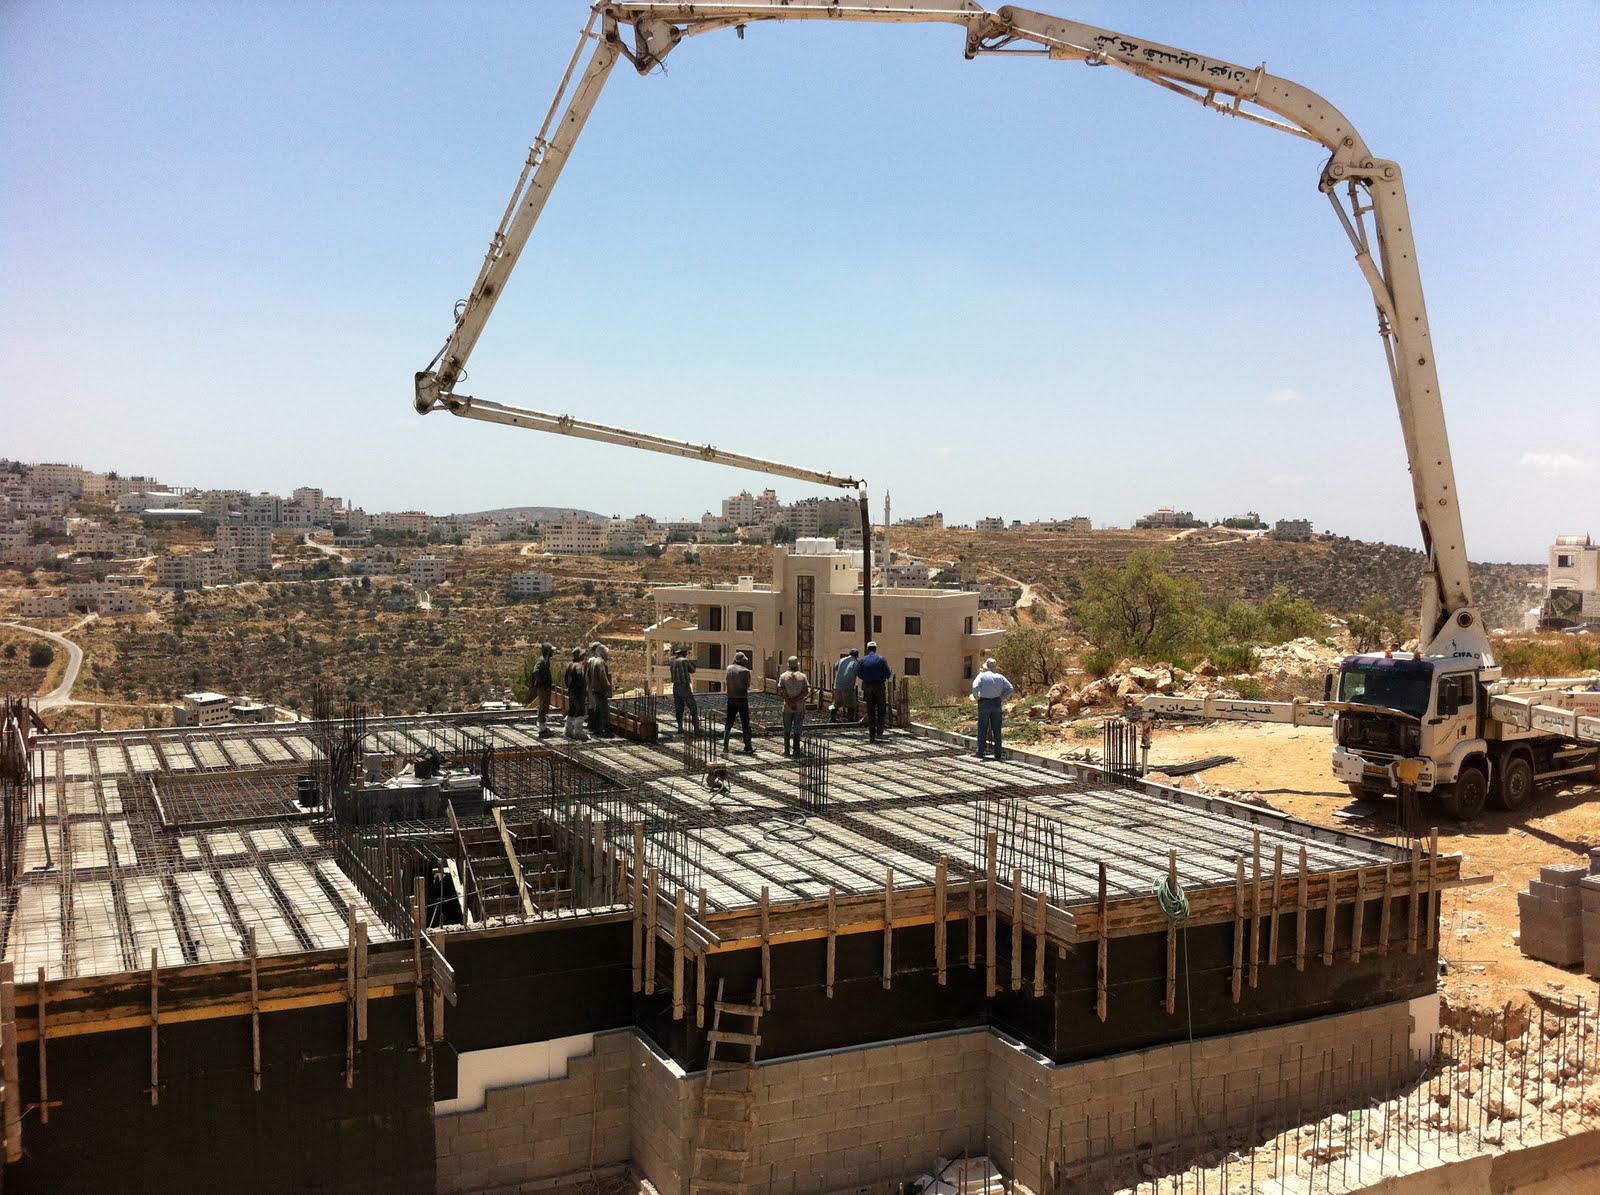
Below are a few photos of the site over the past few days, showing various stages of development:

(workers and foreman discussing progress)

(setting a new mark for the edge of a concrete form using string and a level)


('bracelet' on the right and forms on the left, before cleaning the pour area)

(the forms taking shape)

(areas around the forms are getting cleared of debris)
In addition to the construction oversight, project budget management and scheduling, I've enjoyed learning (or remembering) how to perform some of the engineering calculations required for the ordering of materials and supplies. We had our first order of reinforcing steel arrive at the site today:

(delivery truck unloading steel)

(steel of various thicknesses and shapes, based on the foundation design)
After finalizing our price negotiations with the concrete plant yesterday, the time came to receive the first batch of concrete for the nadaaf areas that were ready. Based on the surface area we calculated and a 10 cm thickness, we ordered 15 cubic meters of concrete with +/- 2 cubic meters that were allowable for return if need be. The mixer trucks carry 9 cubic meters each, so we had two mixer trucks and a big (52 meter) pump truck come out to the site today:

(setting up for initial concrete pump, & spraying water on the ground underneath it)

(ready to go)

(pumping begins and the crew goes to work guiding, shaping and smoothing)

(each crew member knew what to do, worked very efficiently)

(tough job of guiding the erratic pump hose manually)

(foreman giving directions on depth)

(almost done)

(foundation base is in place)
We can't forget the floor of the new site bathroom (not quite portable), so that there's a flat surface to stack the concrete bricks on for bathroom walls:

(barrel with sawed opening in the middle)
And here's the site after the week's work was completed:

(1 week down, 76 to go)
The crew started right back up setting forms for the remainder of the foundations that will get poured with the next concrete order. We used 16 cubic meters this time around, quite close to the estimate we calculated. Next week should be more of the same, but we'll get closer to pouring the actual foundations and ground beam, which will allow us to set up the column necks then fill around them to get to the finished slab elevation for the bottom of the second basement floor.