The final preparations for the 3Aqdeh are under way. We've completed our first phase of insulation and fill import around the basement floor, set up the Hollow Concrete Blocks (HCB) on top of the roof / floor forms, and distributed the steel reinforcement bars along the beams, tie beams and ribs to reinforce the slab.
We've also completed coordination with the electrical contractor and the plumbing contractor to set up the necessary sleeves that will allow them to pull their wires / pipes through the slab after the 3Aqdeh pour.
Below you can see photos of the fill being imported and distributed. We placed the fill on both sides of the retaining wall in order to maintain the neutral loading it was designed for, and filled only about 1 meter behind the second basement wall in order to establish a ground elevation suitable for setting up the insulation layer. This layer is composed of a 2-cm thick styrofoam board that is protected by a wall of thin (10-cm) concrete blocks, which required the fill underneath to act as a foundation for the insulation wall:
(truck importing fill material)
(fill being imported by the truck on one side and distributed by the bulldozer on the other)
(fill delivered at the top of the future street to be pushed behind the wall)
(bulldozer spreading the fill material)
Additionally, we ordered around 1,800 Hollow Concrete Blocks (HCB) that will make up the majority of the floor slab, and the crew distributed the blocks in accordance to the structural engineering plans. The blocks sit directly on top of the wood forms, and they are separated in order to place reinforcing steel beams and ribs between them to support the slab structure after the concrete is poured and the forms are removed. Progress pictures, as well as some detail work below:
(HCB delivered)
(HCB distributions in progress)
(three-quarters of the roof area completed)
(final blocks in place, ready for steel)
(beam reinforcement between HCB's, as well as inverted beam forms shown)
(the inverted beam forms were tricky because they need to "float" to allow concrete underneath)
(sunken slab area doesn't have HCB, to allow for pipes to be set up under future bathrooms)
(beams and tie beams need to have all the steel tied together by hand, one bar at a time)
(final preparations for the concrete pour)
Finally, I wanted to post some photos showing the form and reinforced steel construction details for the staircase because it's always been difficult for me to picture how it's done. I now have a chance to see it as a work in progress and it's helped me understand what goes on. Please feel free to post a comment if you have any questions about the photos below and I'll be happy to elaborate on them:
(forms are built like a slide, then reinforcing steel in set in place.
Notice the faint outline of the stairs drawn in red marker on the wall to the left)
(after steel is complete, horizontal forms are added that allow concrete to flow underneath them)
(detail of the stair forms. All forms are fixed to the wall as well as to each other)
(steel from the top of the stoop reinforcement goes to the bottom of the stairs and vice-versa)
(reinforcement bars protruding to set up for the next level of stairs)
Next up, our first 3Aqdeh or roof/slab concrete pour that will complete the 3Adem (bones) phase of the second basement floor.
After many weeks of work on the foundation, we finally poured the slab and the building has taken shape. It's a substantial milestone, and it was fun to watch everyone's energy pick up to try and get ready for the pour including the plumbing and electrical subcontractors.
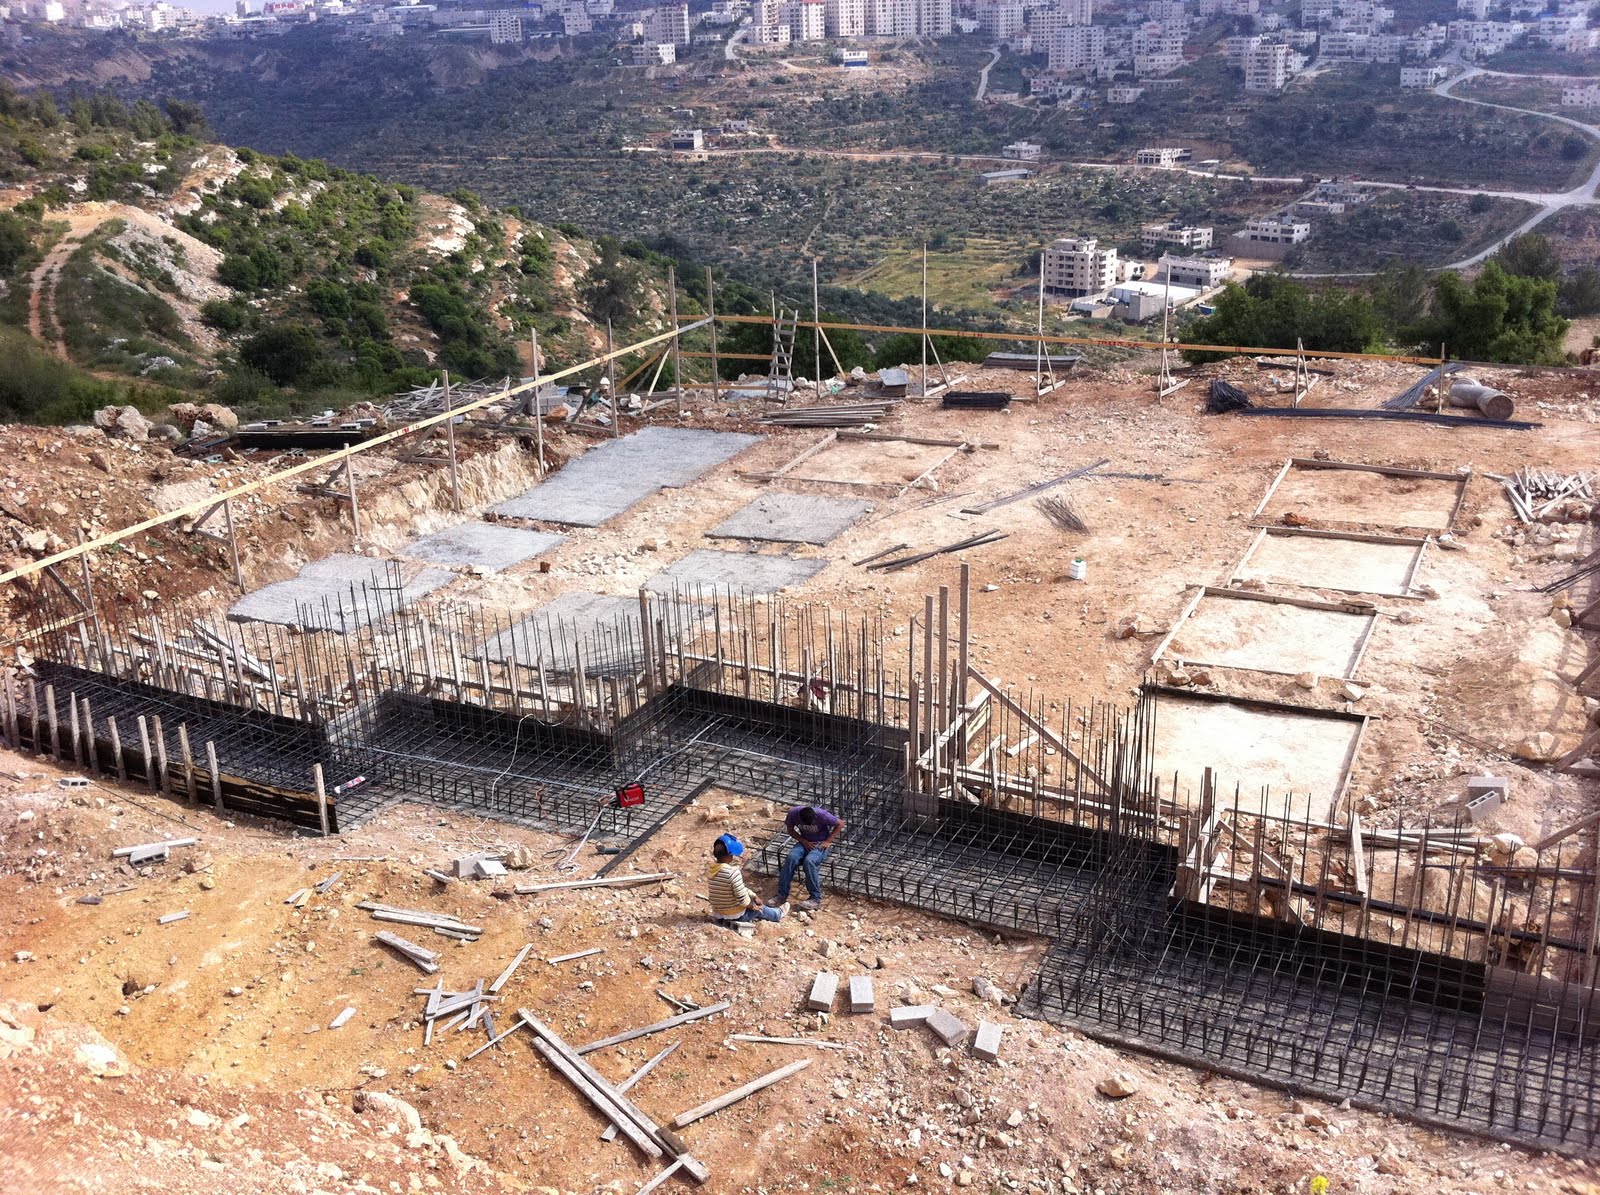
Below you'll see photos of the crew preparing the forms for the final Ground Beams, placing the reinforcing steel, and spreading the remaining fill evenly over the rectangular pads remaining in between the Ground Beams. After that, they spread plastic sheets over the fill as a moisture barrier, then placed a steel grid (8 mm thickness, in 20-centimeter square grid openings) over the plastic as reinforcement for the concrete slab.
You'll also see the plumbing sub placing his wastewater pipes that have to go under the slab in place, and the electrical sub placing his high and low-voltage conduits and sleeves under the fill material to establish his routes under the slab.
(crew and subcontractors working)
(plumber setting up the WW drain for a future toilet)
(plastic sheets being placed over the smooth fill and WW pipes)
(final pads remaining are being worked on by the electrical sub)
(at the end of the day, awaiting the concrete pump truck next morning)
The pour went smoothly, and included approximately 50 cubic meters of concrete for the Ground Beam and slab (the 10-centimeter-thick slab took around 35 cubic meters while the Ground Beams took up another 15 or so cubic meters). We also poured the third phase of the reinforced concrete retaining wall along the front (north) boundary, completing the first 3-meter-high run along the entire 30-meter stretch of street frontage. The retaining wall took another 13 cubic meters to complete, bringing the total for the wall so far to around 90 cubic meters.
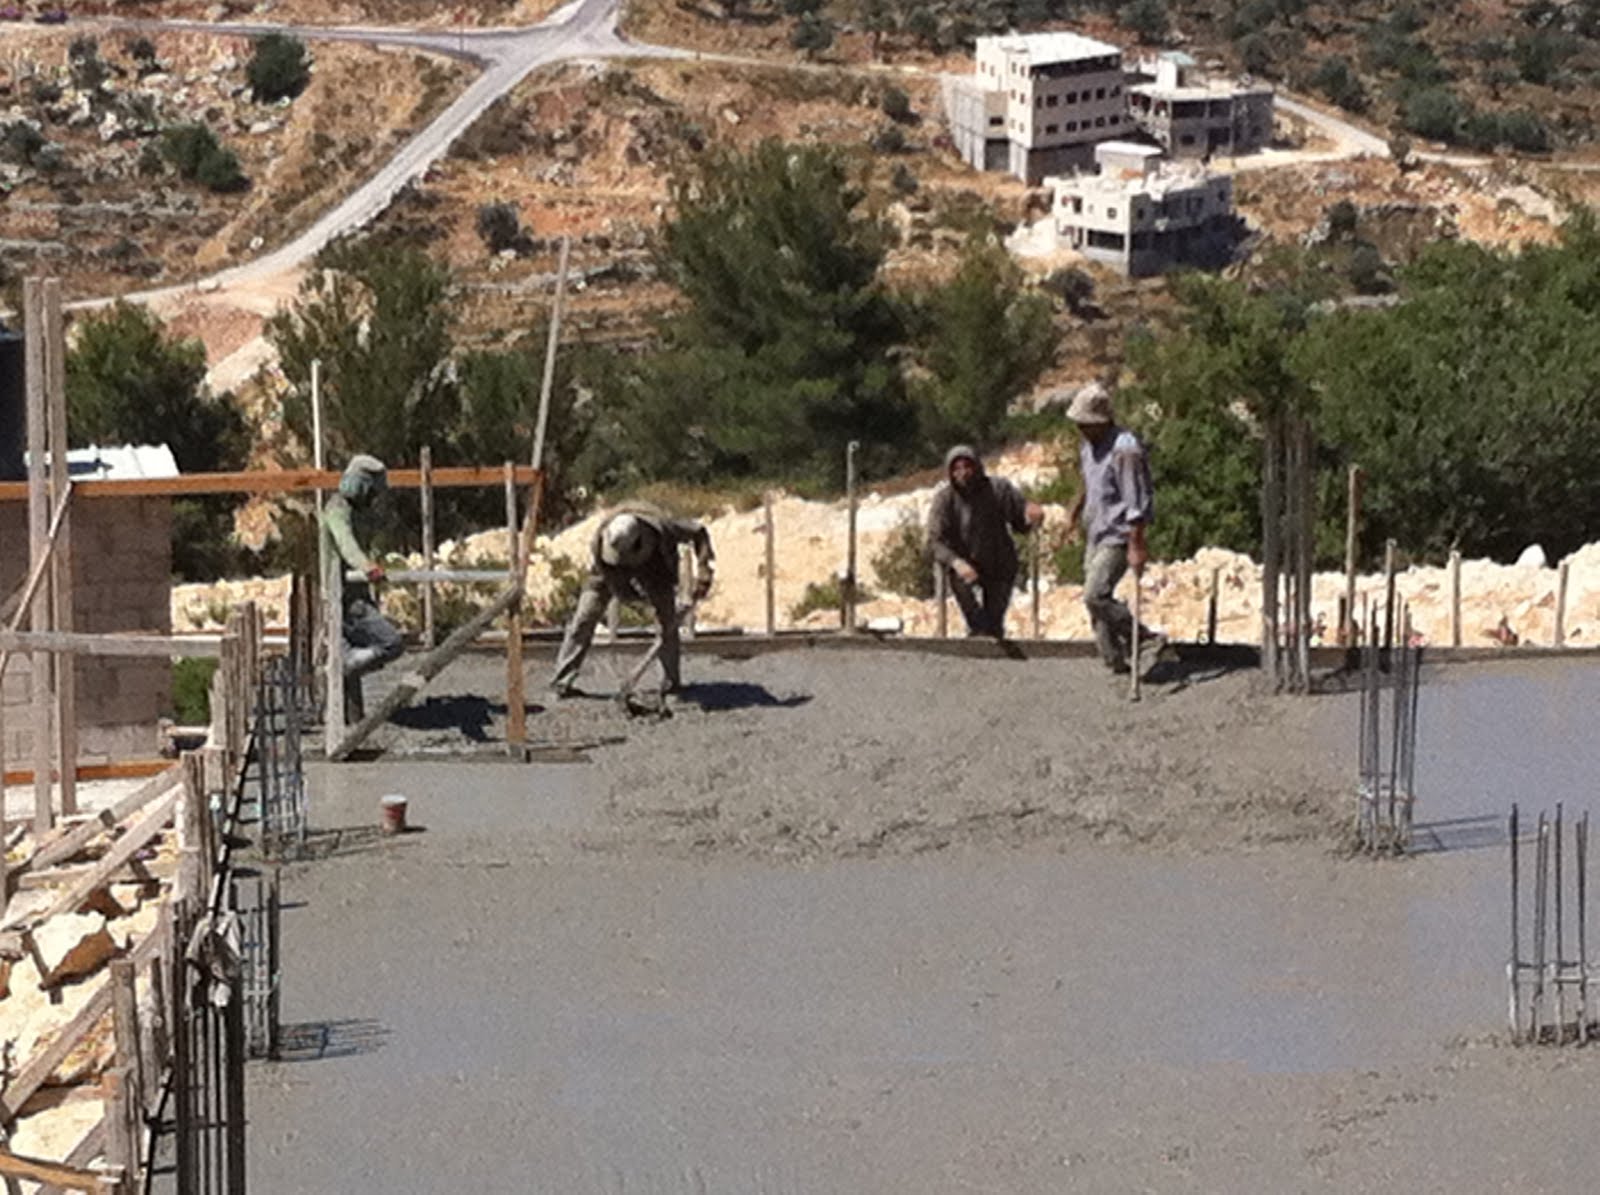
Th crew used hand shovels to spread the last of the concrete evenly over the slab, and a make-shift level spreader to smooth the surface (as seen in the first two photos below):
(using the level-spreader to smooth the concrete)
(using shovels to spread the concrete evenly)
(close-up of the finished product)
(the building takes shape)
(retaining wall shown in foreground)
(the view from the street)
Next phase will bring forming of the walls for the second basement level, ordering reinforcement steel and the new (for me) process of placing an order for the stone facade and overseeing that aspect of the construction work.
The work on the foundations is moving slowly and steadily forward. The site work is still moving along at a slower pace than I would like to see, and part of the challenge I'm dealing with in my new role is not being able to make decisions that affect the operations yet.
I'm still learning a lot about vertical construction in general, and construction in Ramallah with the local materials, labor and methods in specific. As such, I have only been able to give suggestions about ways by which we might be able to increase the speed of production or save some time on our delivery schedule only to be met with resistance from the contractor. It's tough to get him to consider changing "the way it's always been done" so I am forced to accept the speed of operations for the time being, while keeping track of ways it could be done differently for future reference and implementation.
Business operations aside, below are some photos from the third foundation pour which took place a few days ago.
(forms around remaining foundation footings)
(crew working on reinforced steel at the base of the future stairwell)
(short concrete pump needed to park closer to the forms)
(concrete pour in action)
(foundation footings have all been poured)
As for the next step in the process, the crew is preparing forms for what should be the fourth and final foundation concrete pour (hopefully Monday or Tuesday of next week), which will include the stairwell and elevator shaft walls, the column necks and the wall along the north and west boundaries. As you can see below, the forms around the columns are being constructed using concrete blocks as it is a faster that timber forms for such small spaces. The down side, obviously, is that these concrete blocks will not be re-used after the pour and their cost is offsetting the time / cost savings of the shorter construction time.
(footings completed, and forms around column necks and internal walls being erected)
The crew takes their elevation level (using a water tube level) by comparing to the marks on the 'bracelet' that surrounds the building. This will allow them to establish the height of the next set of forms needed around the columns for the fourth foundation concrete pour.
(marking elevations using a water level)
After the next concrete pour and dismantling of the forms the day after, we will be ready to import / haul in the fill material that will go around the foundations and under the slab on grade, starting to really change the way the site looks and putting the tricky (and most time consuming) part of the 'adem (frame) construction behind us.
And finally, I just had to take this picture in case anyone reading this blog is a Yankees fan. Apparently your ilk has made it to our construction site in Ramallah!
Yesterday we poured the first batch of foundation-strength concrete (B300) into the forms for the building's Foundation Wall. The reinforcement steel was laid out, tied to the foundation steel, and the wooden forms were held in place by metal wire ties as well as 6 mm steel bars connecting both sides of the forms together to withstand the pressure of the concrete being pumped into the forms.
Last time I posted about being amazed by the manual labor aspect of development in this part of the world, so I thought I'd post a few more photos to illustrate my point. Here's a shot of the crew tying the column starter bars in the proper location using their tape measure and string to identify the location, metal wire to tie the bars in place, and nails, large boulders, and 6 mm metal bars to hold the wooden forms in place.
(the crew tying starter bars for columns in place)
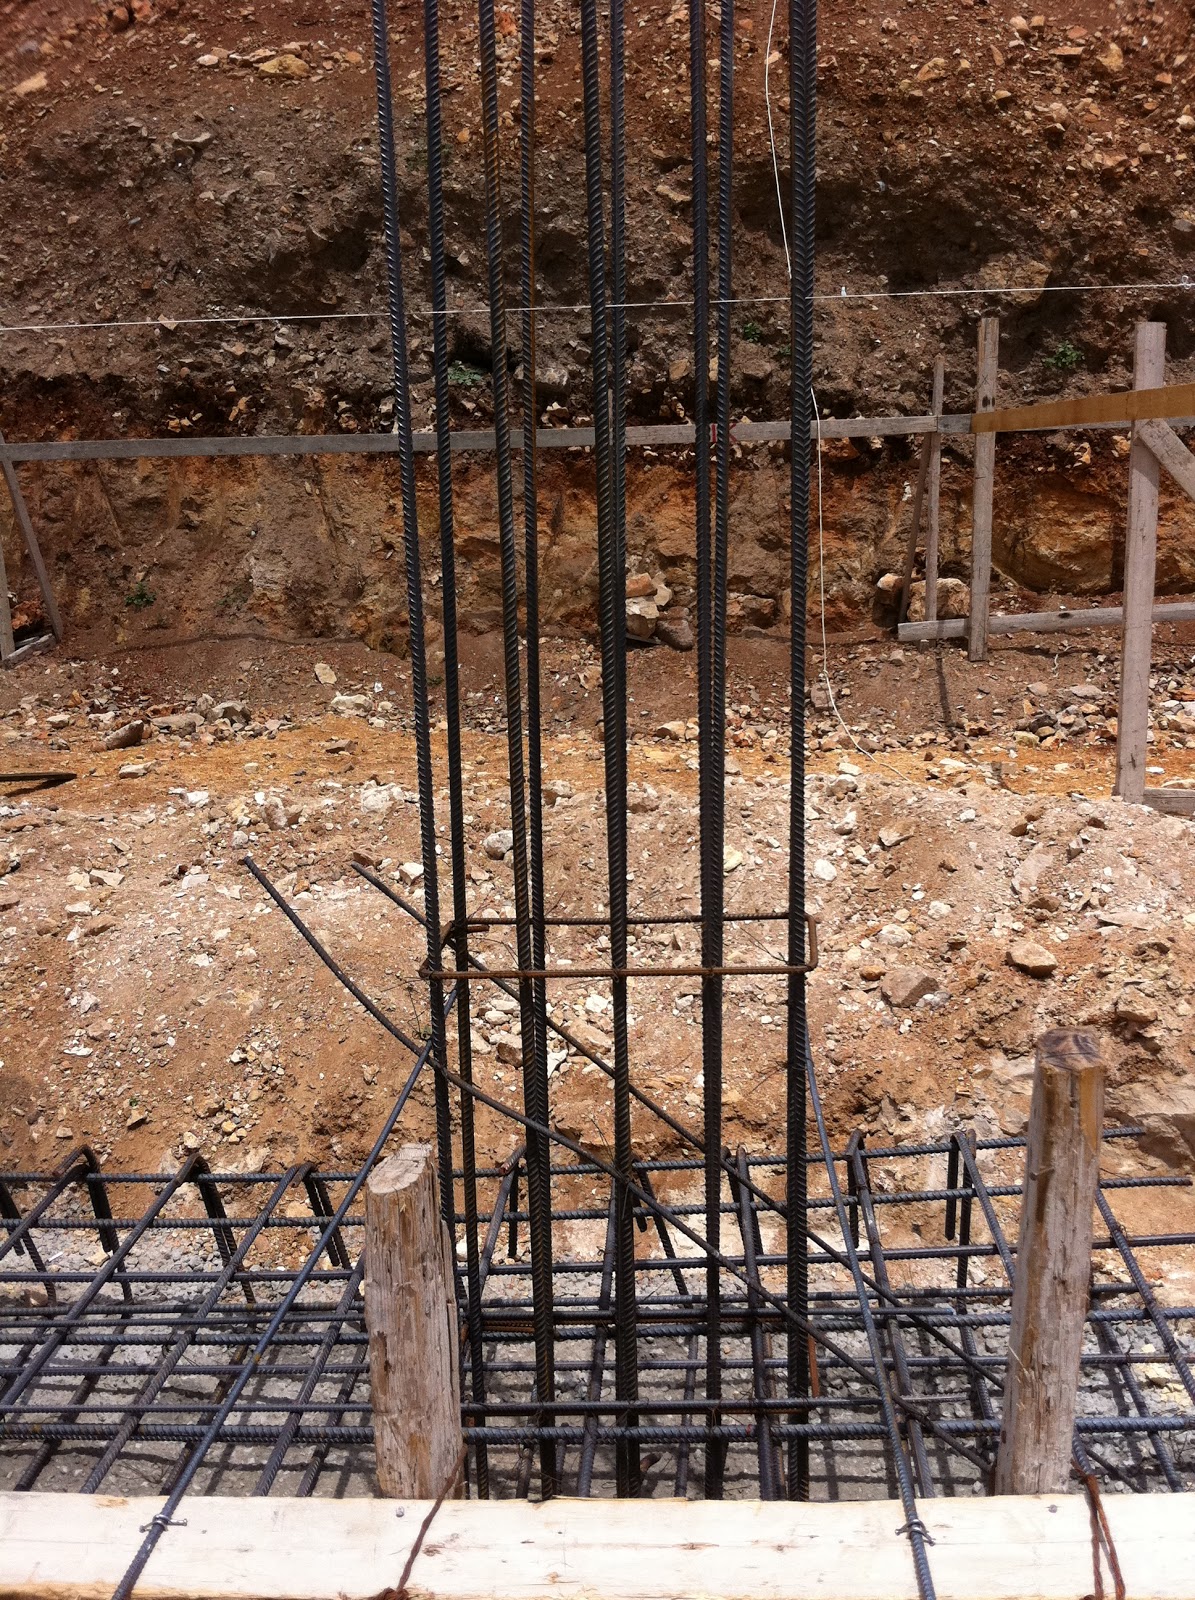
(the starter bars held in place with metal wire ties and 10 mm 'bracelet' ring)
(the L-shaped footings of the starter bars, all tied individually to the foundation steel)
(the Foundation Wall footing, all hand-tied and placed inside the hand-made forms)
(pick axe, buckets and shovels used to clear the debris from areas where foundation will be poured)
After the Foundation Wall reinforcement steel is in place, the electricians weld a metal strip along the footing to provide an "earth" network that will ground the building and dissipate any electrical charge that might need dissipation (electric short, lightening ... etc).
(electricians welding metal "earthing" strip)
This is the site the day before the second concrete pour. Forms are in place on both sides, tied to each other and held securely in place, with steel reinforcement bars for the foundations in place and starter bars for all the columns inside the Foundation Wall established.
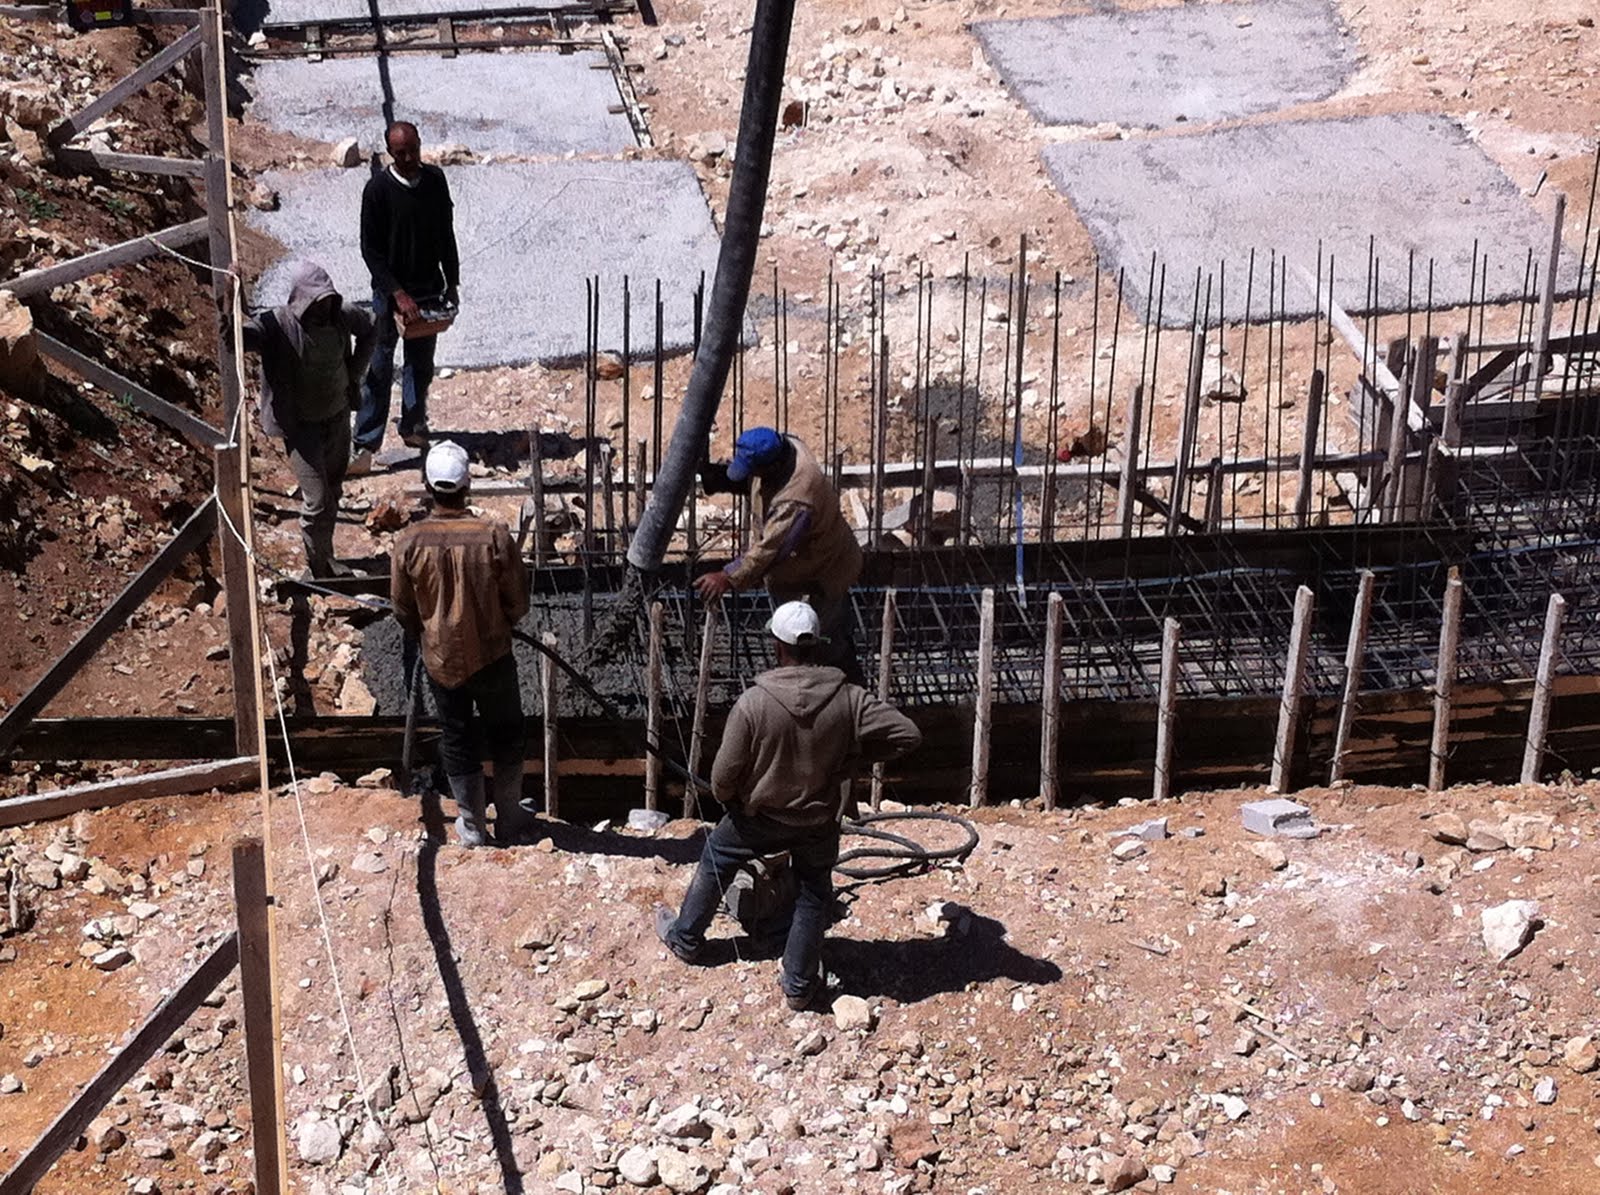
The morning of the pour, the general contractor is on site helping spray water on the areas that are about to receive concrete to increase moisture content and decrease the temperature a little ... then the 52-meter pump arrives and mixers start to pour cement into the pump and the pump delivers it to the foundation forms.
(contractor waters the forms prior to pour)
(concrete pump hose starting to spew cement mix)
(the crew get to work)
(workers direct the pump hose while others follow behind with concrete vibrator to eliminate gaps)
And here's a video of the process so you can see everyone in action:
The concrete had to be sampled by the geotechnical engineer in order to ensure conformance with the required strength and mix standards. The concrete blocks will be tested / crushed in two batches: once after 7 days and again after 28 days.
(concrete sample-collection blocks)
(first sample collected and labeled)
Finally, here's what the site looks like at the end of the following day. The crew cuts the 6 mm bars holding the forms together, removes all the wood frames, pulls all the nails out of the wood, then stacks it up according to size to get ready to build the forms for the next round of column foundations (the base of which can be seen beyond the Foundation Wall in the pictures below).
(Foundation Wall poured, and forms taken apart)
(crew stacking the wood from the forms for future use)
I should note that these guys work from 7:30 am to 3:30 pm, every day except Friday. The more experienced (master) workers make 145 NIS (around $41) a day, while the less experienced (apprentice) workers make 85-90 NIS (around $24-$26) a day.
Almost without exception, they love watching WWF wrestling on Thursday night television and talking about it the next week.